How to add or connect WhatsApp Business API to Meta Business.
Log in to your CRM platform with admin credentials or an account that has permission to manage settings.
Look for the Main Menu–this is typically located on the left-hand side or as a top navigation bar, depending on your CRM.
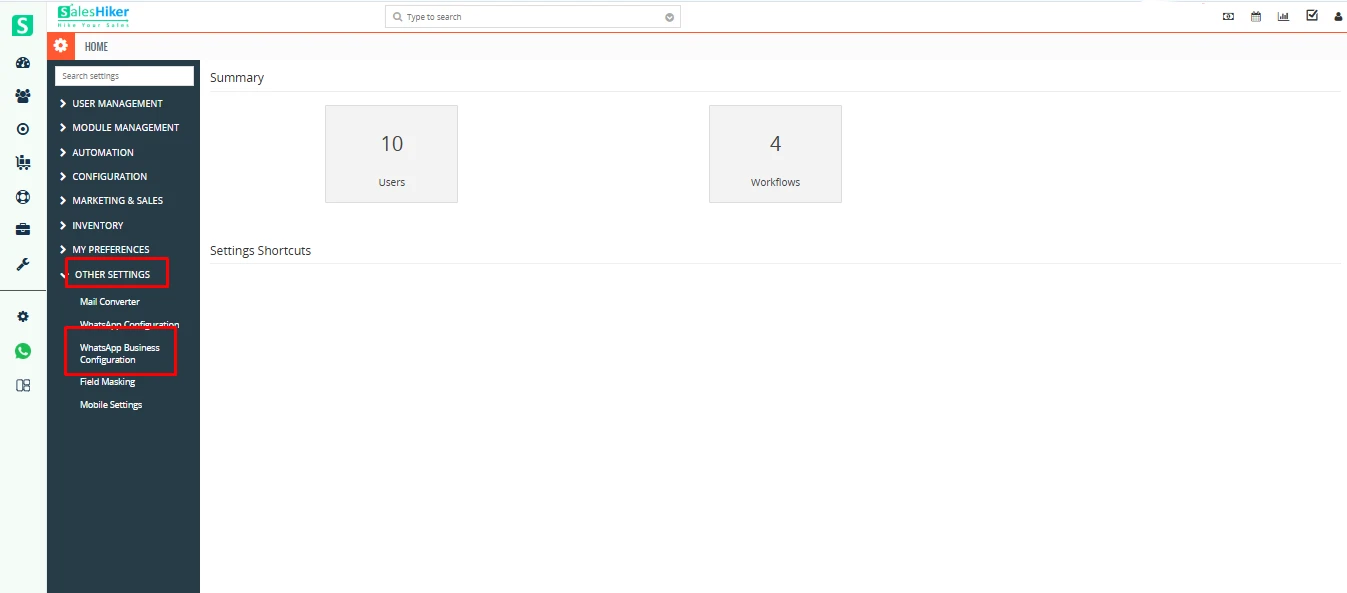
After navigating to CRM Settings > Other Settings > WhatsApp Business Configuration, the WhatsApp Business Configuration Screen will appear.
Add a WhatsApp Business Account
Locate the Button:
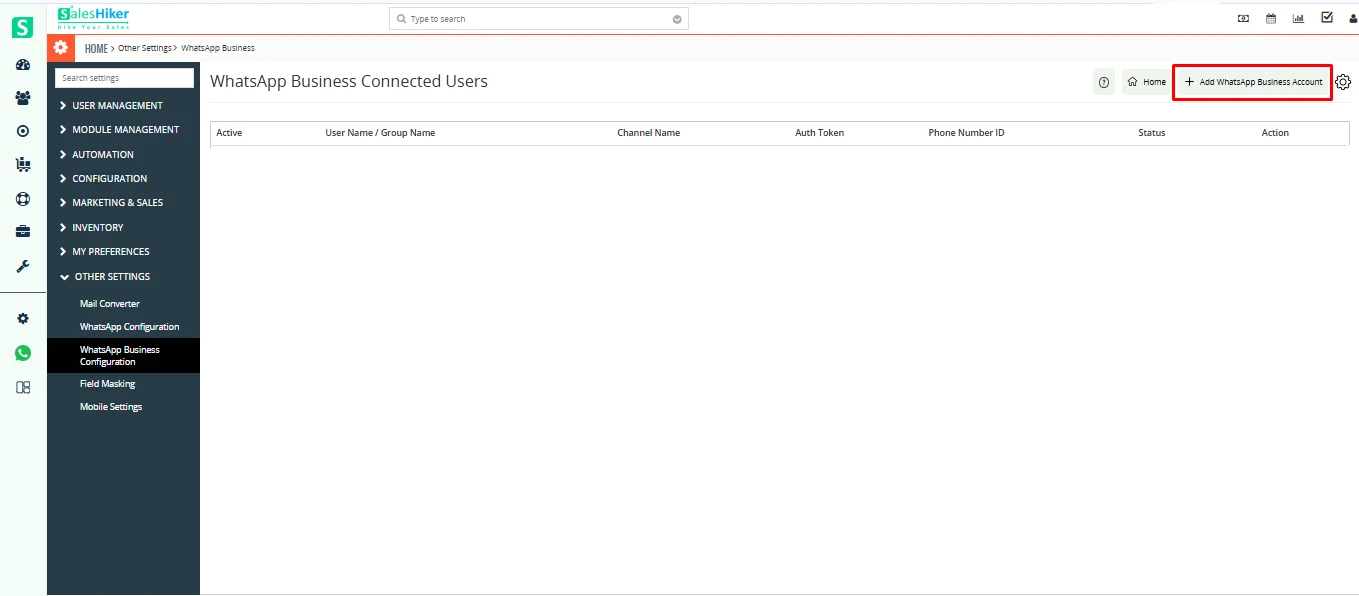
On the WhatsApp Business Configuration screen, look for the Add WhatsApp Business Account button.
This button is usually prominently displayed, often at the top or center of the page.
Click on the Button:
Click Add WhatsApp Business Account to begin the integration process.
Pop-Up Screen Appears:
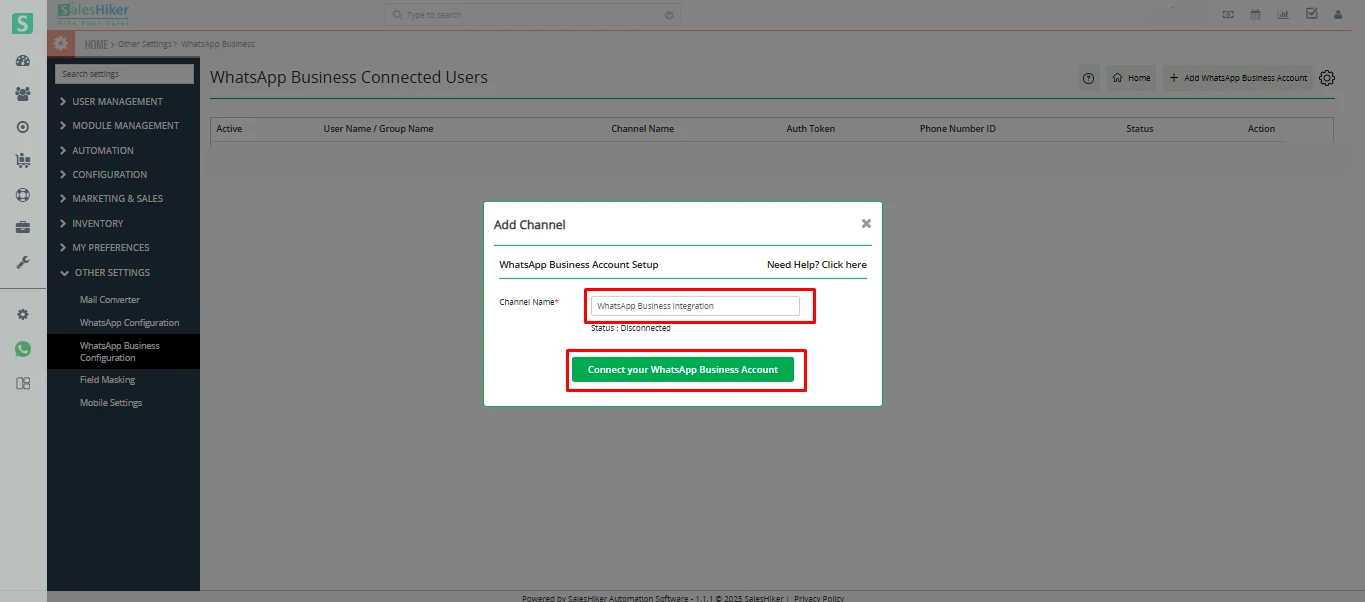
After clicking the Add WhatsApp Business Account button, a pop-up window will appear on the screen.
Enter Channel Name:
In the pop-up, there will be a field labeled Channel Name or similar.
Click on ‘Connect Your WhatsApp Business Account’:
Once the channel name is entered, click the button labeled Connect Your WhatsApp Business Account to proceed.
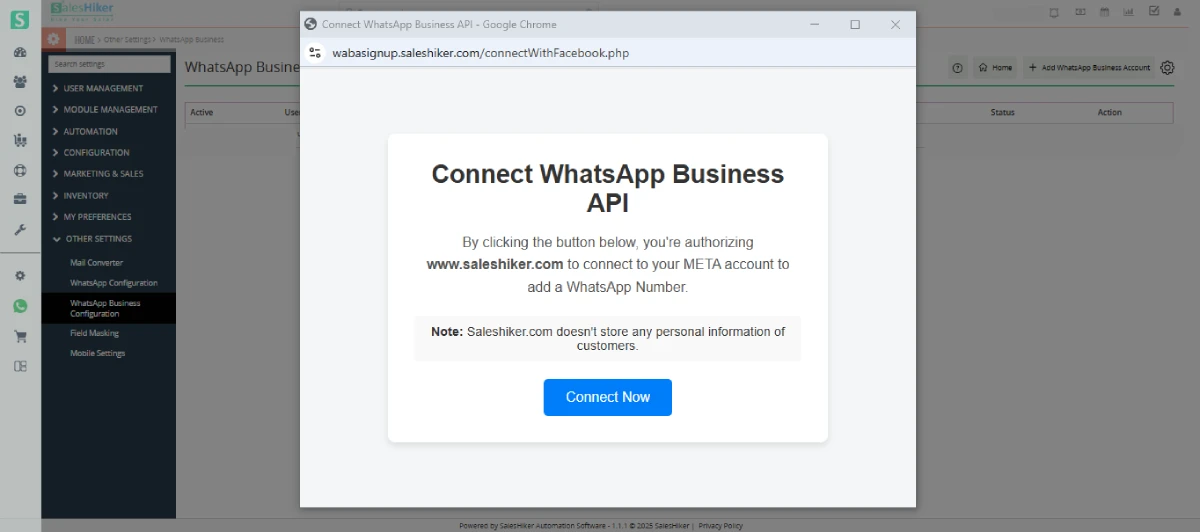
When creating a WhatsApp Business account from the CRM (WhatsApp Business Configuration → Create Account), a Meta authorization popup will appear after entering the channel name and clicking Connect Your WhatsApp Business Account.
Click Connect Now to authorize the integration with your Meta account. You will then be redirected to a pop-up window where you need to log in with your Facebook credentials to complete the connection process.
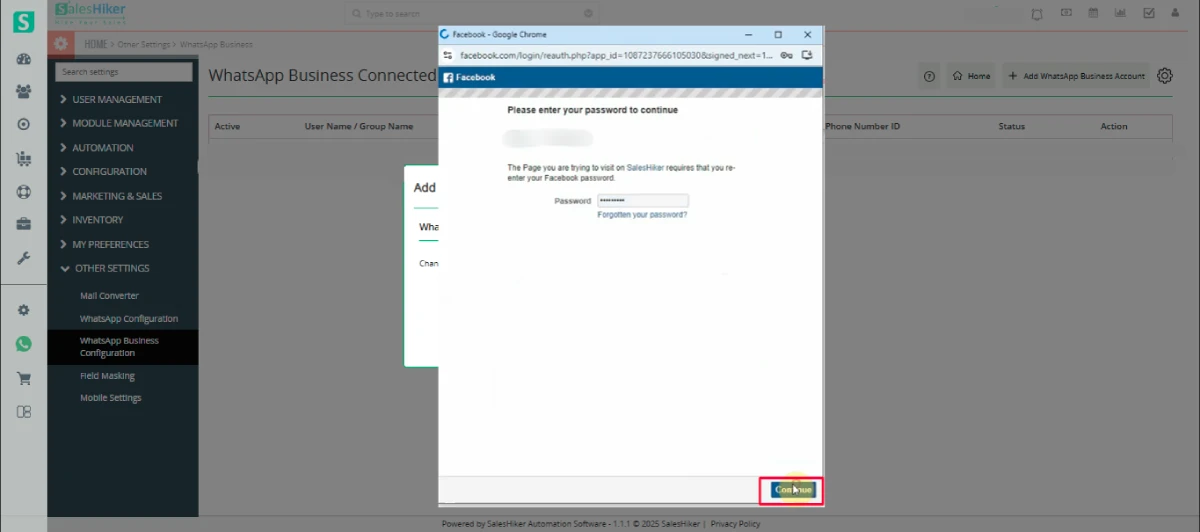
Facebook Login Pop-Up Appears:
After clicking the Connect Now button, a pop-up window from Facebook will appear.
This is required to authenticate and link your Meta Business account with the CRM.
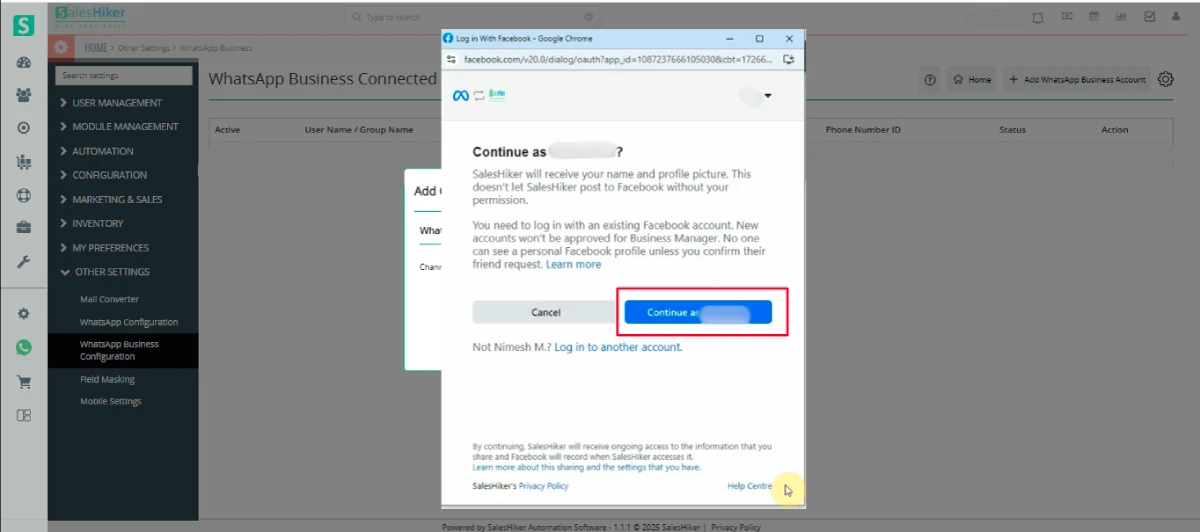
Confirmation to Continue with the Same User
Prompt for User Confirmation:
After clicking the Continue button on the Facebook pop-up, the system will ask, “Do you want to continue with the same user?”
This step is to ensure that you are connecting the correct Facebook account linked to your WhatsApp Business Account.
Permissions Displayed:
After clicking Continue, a screen will appear showing the permissions that are granted to the user.
These permissions typically include access to:
Manage your WhatsApp Business Account.
Access Meta Business tools and settings.
View and respond to messages on behalf of your WhatsApp Business Account.

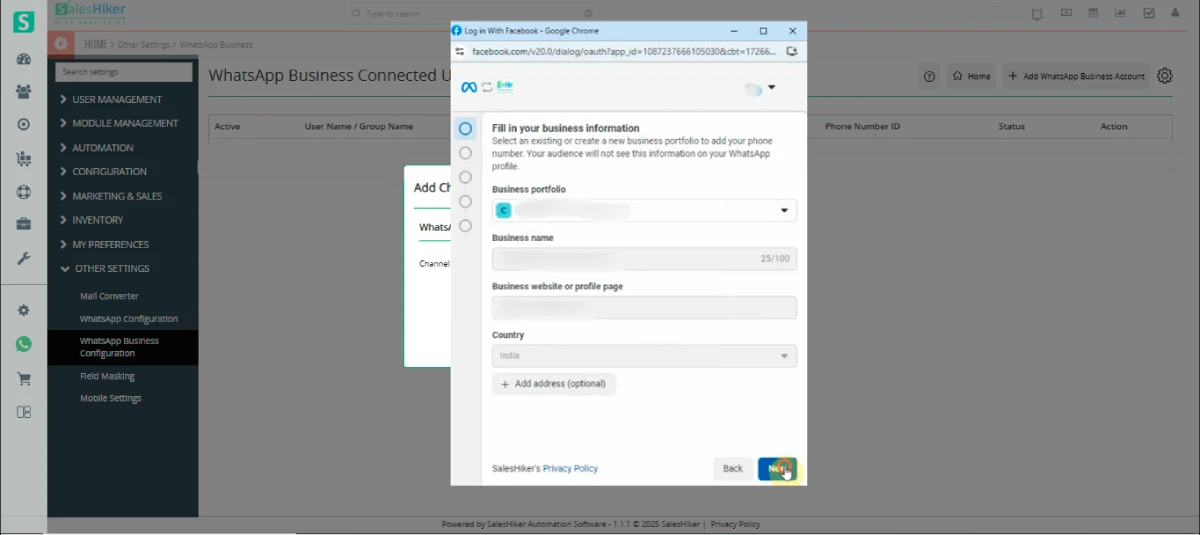
Filling Out the Business Information Form
Business Information Form Pop-Up:
After clicking Get Started, a Business Information Form will appear.
This form is required to provide Meta with your organization’s details for linking your WhatsApp Business Account.
The form will contain the following fields:
Business Portfolio
Business Name
Business Website or Profile Page
Country
Address
WhatsApp Business Account Detail Form
Click “Next”:
After filling out and submitting the Business Information Form, click the Next button to proceed.
This action will open the WhatsApp Business Account Detail Form.
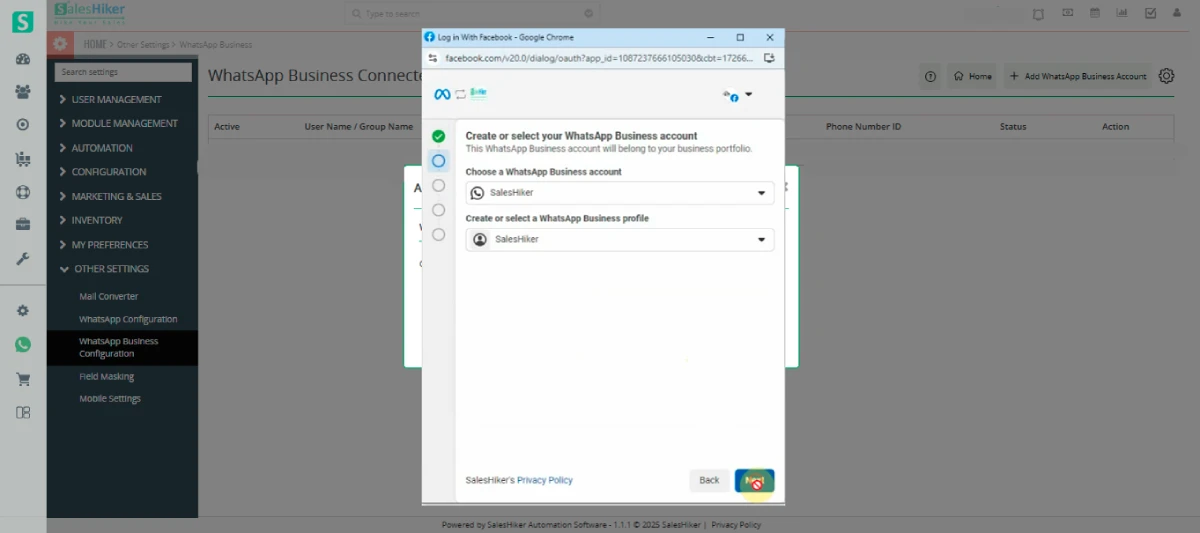
WhatsApp Business Account Detail Form
Form Overview:
The WhatsApp Business Account Detail Form is designed to capture specific information related to your WhatsApp Business Account for setup.
Fields to Fill:
The form will typically require the following details:
Enter the name of your WhatsApp Business Account. Ensure it aligns with your brand name to avoid confusion.
WhatsApp Business Account:
Create or select WhatsApp Business Profile.
Reviewing Permissions
Click “Next”:
After completing and submitting the WhatsApp Business Account Detail Form, click the Next button.
The following permissions will typically be displayed:
Manage Your Business
Manage Your WhatsApp Accounts
Manage and Access Conversations in WhatsApp

Access Details Pop-Up
Click “Continue”:
After reviewing and granting the permissions, click the Continue button to proceed.
A new pop-up window will appear, showing a summary of what you can now access through your WhatsApp Business Account integration.
Details in the Pop-Up:
The pop-up will outline the types of access and limits available to your business through WhatsApp Business:
Your business can initiate up to 1,000 conversations with customers within a 24-hour rolling window.
Business-initiated conversations require pre-approved message templates and count toward your conversation limit.
Customers can initiate conversations with your business without any limits.
These include replies to your messages or any inbound communication from customers.
At Least 1,000 Business-Initiated Conversations
Unlimited Customer-Initiated Conversations
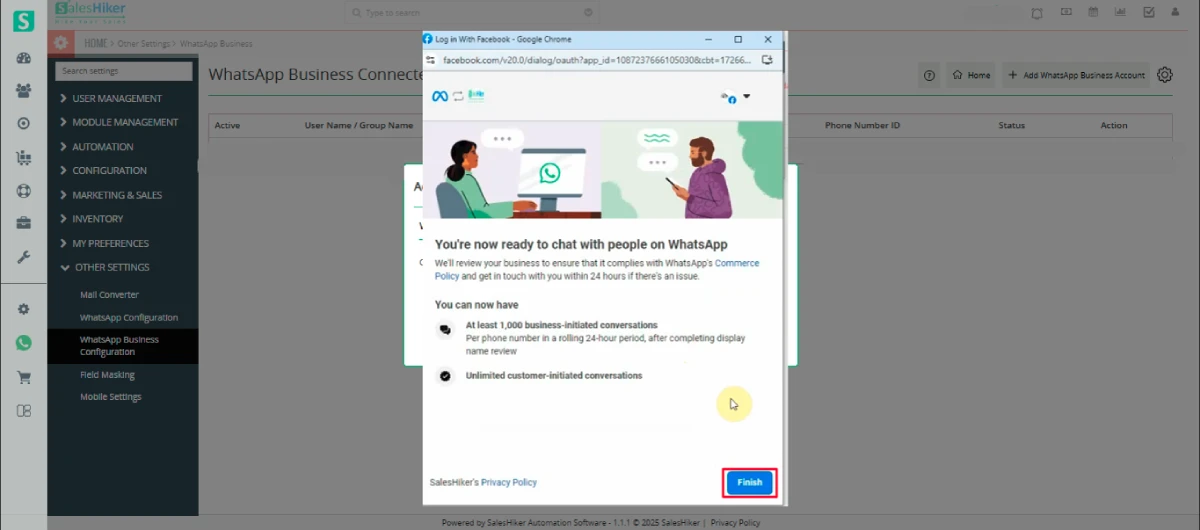
Click “Finish”:
After reviewing the access details and confirming the permissions, click the Finish button to complete the integration process.
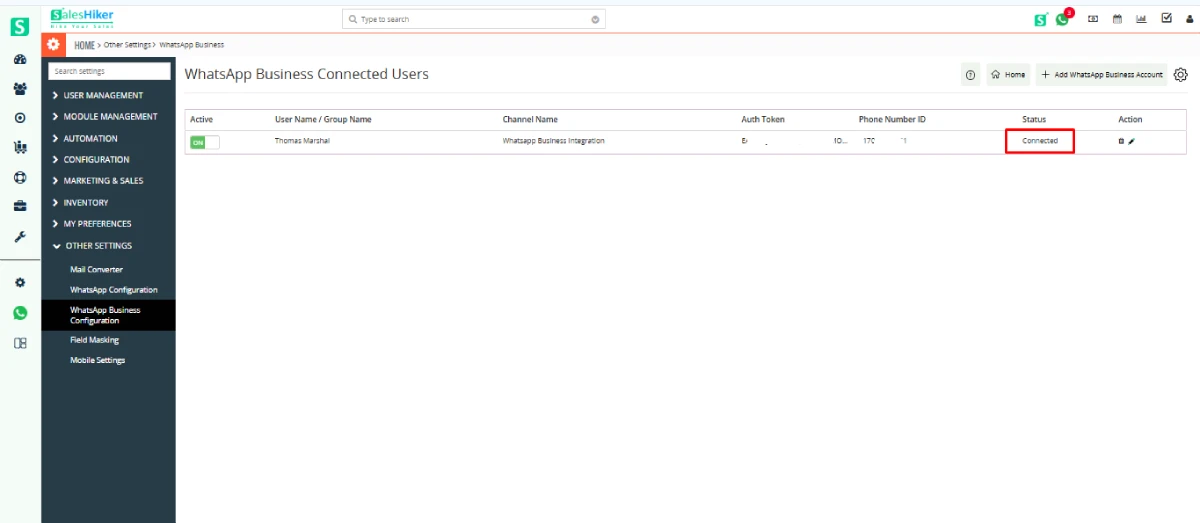
Automatic Redirection:
You will be automatically redirected to a new screen where you can manage user access for the WhatsApp Business Account within the CRM.
 by
by