Getting Started with the SalesHiker CRM
Introduction
Welcome to SalesHiker CRM, a cloud-based, multi-tenant SaaS platform designed to streamline and optimise your sales processes. This guide provides a step-by-step walkthrough for registering and setting up your Tenant CRM, ensuring a smooth onboarding experience.
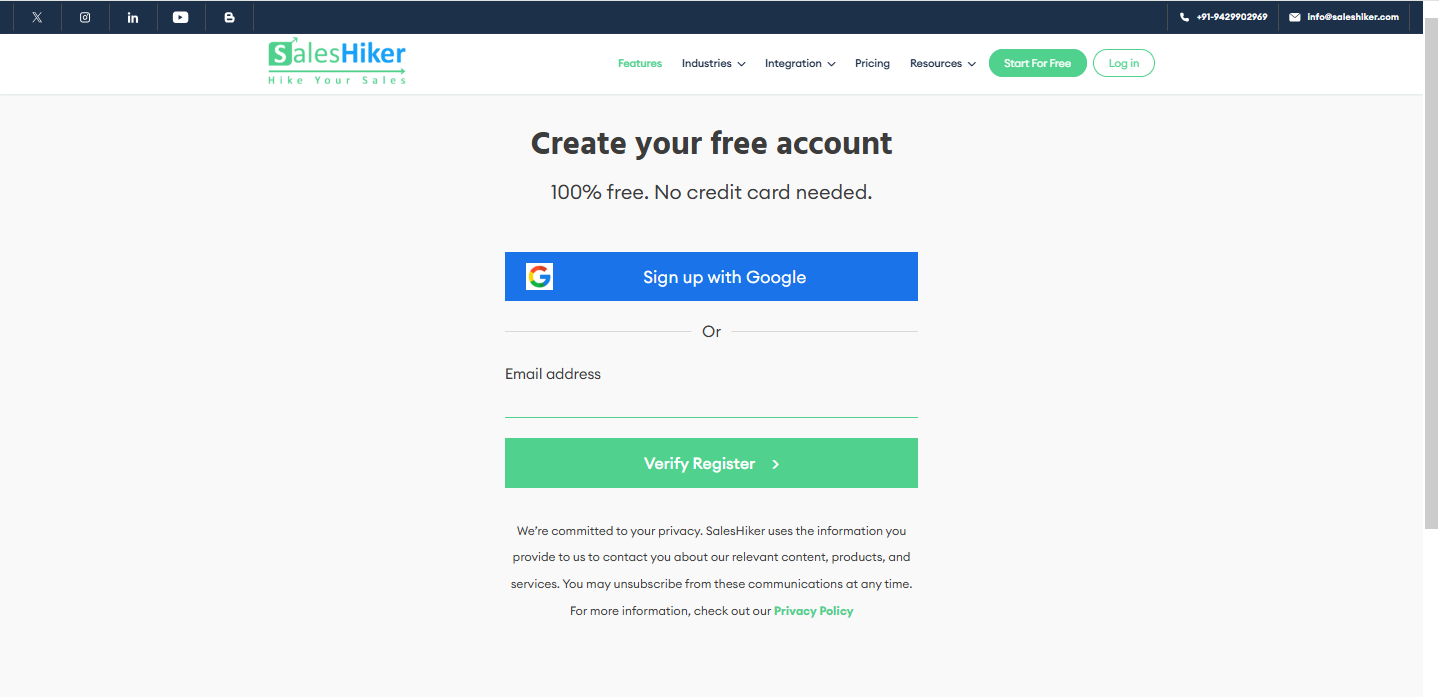
1. Accessing the Setup Page
- Open your preferred web browser.
- Visit the SalesHiker Registration Page.

- Click the "Start For Free" button or enter your email and click the “Free trial” button.
- Choose one of the setup methods:
- Setup with Email
- Setup with Google Account
2. Setup with Email
- Enter your email address in the given field of Email address.
- After entering your email address, click the “Verify Register” button.
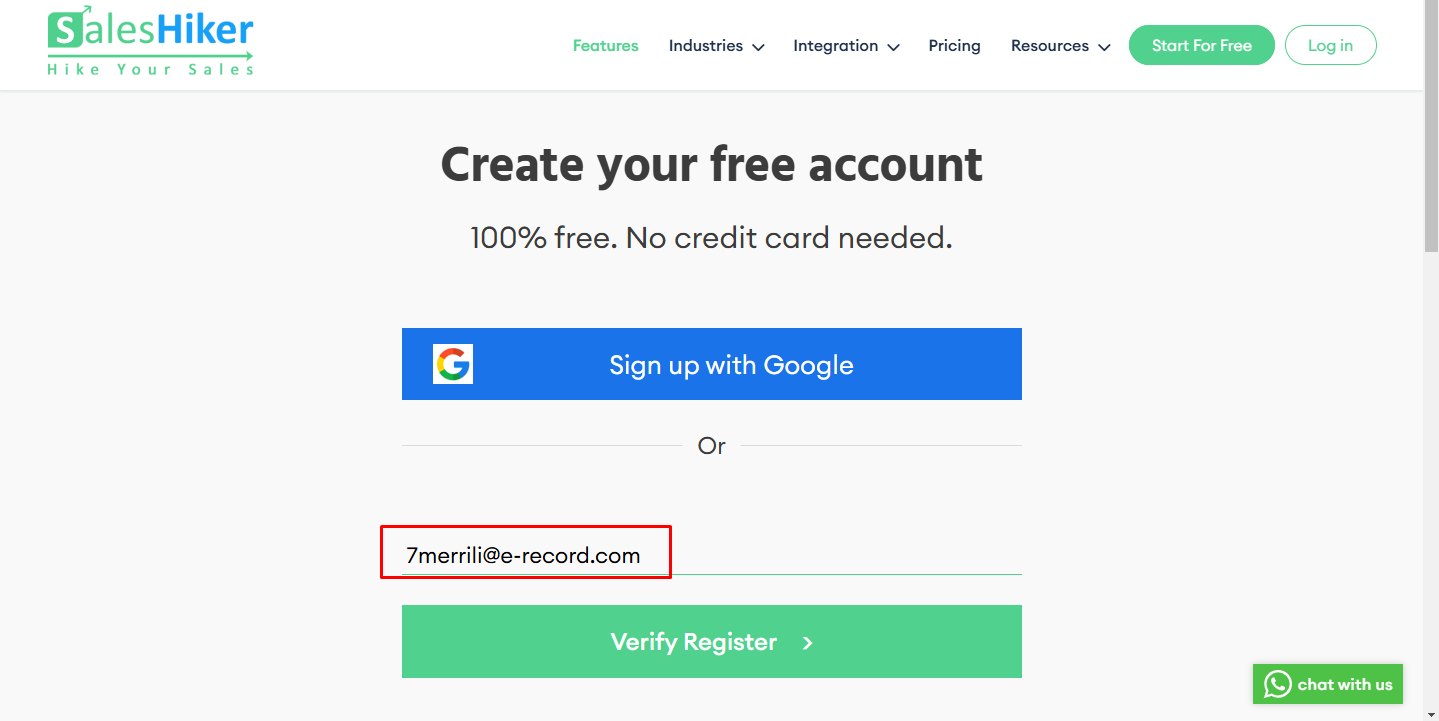
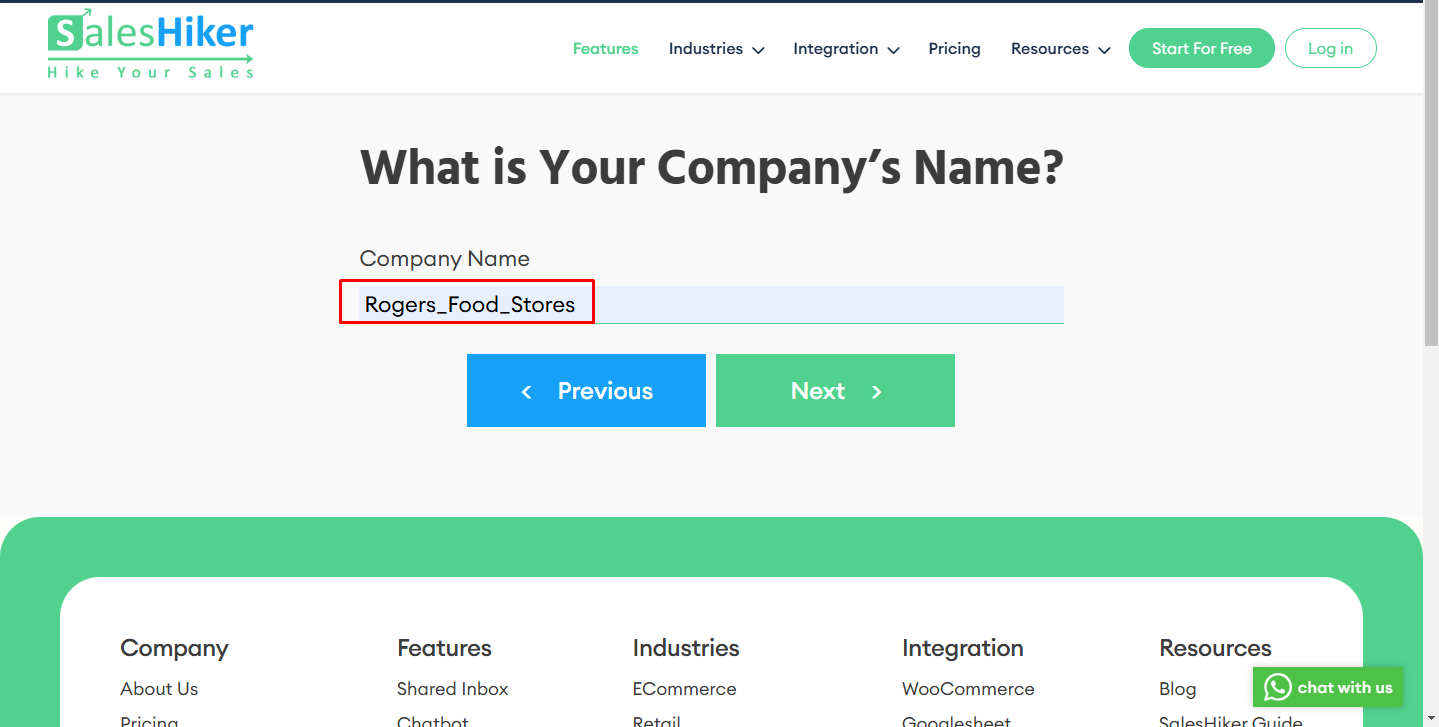
- After clicking on the verify register, the Company name will be asked.
- 1. Company Name: Enter your organisation's name.
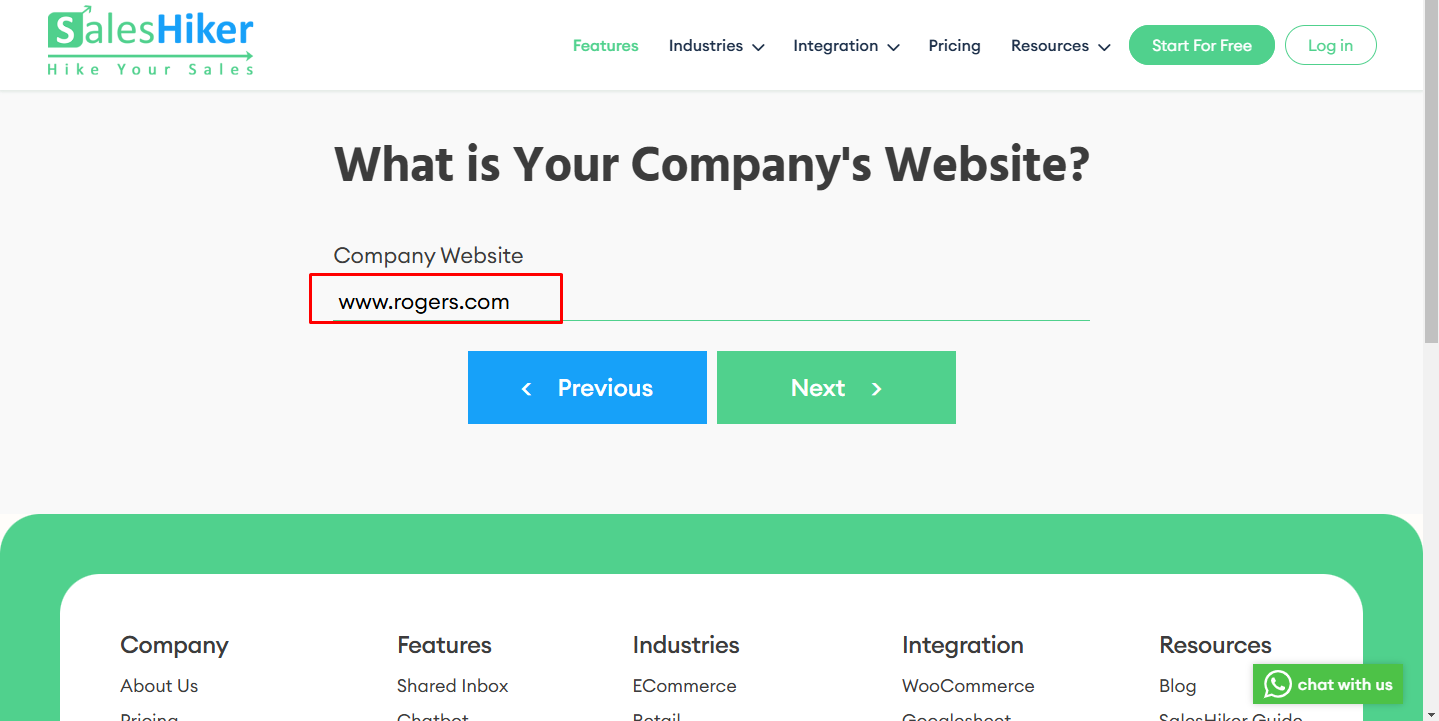
- 2. Company Website: Provide your company's website URL.
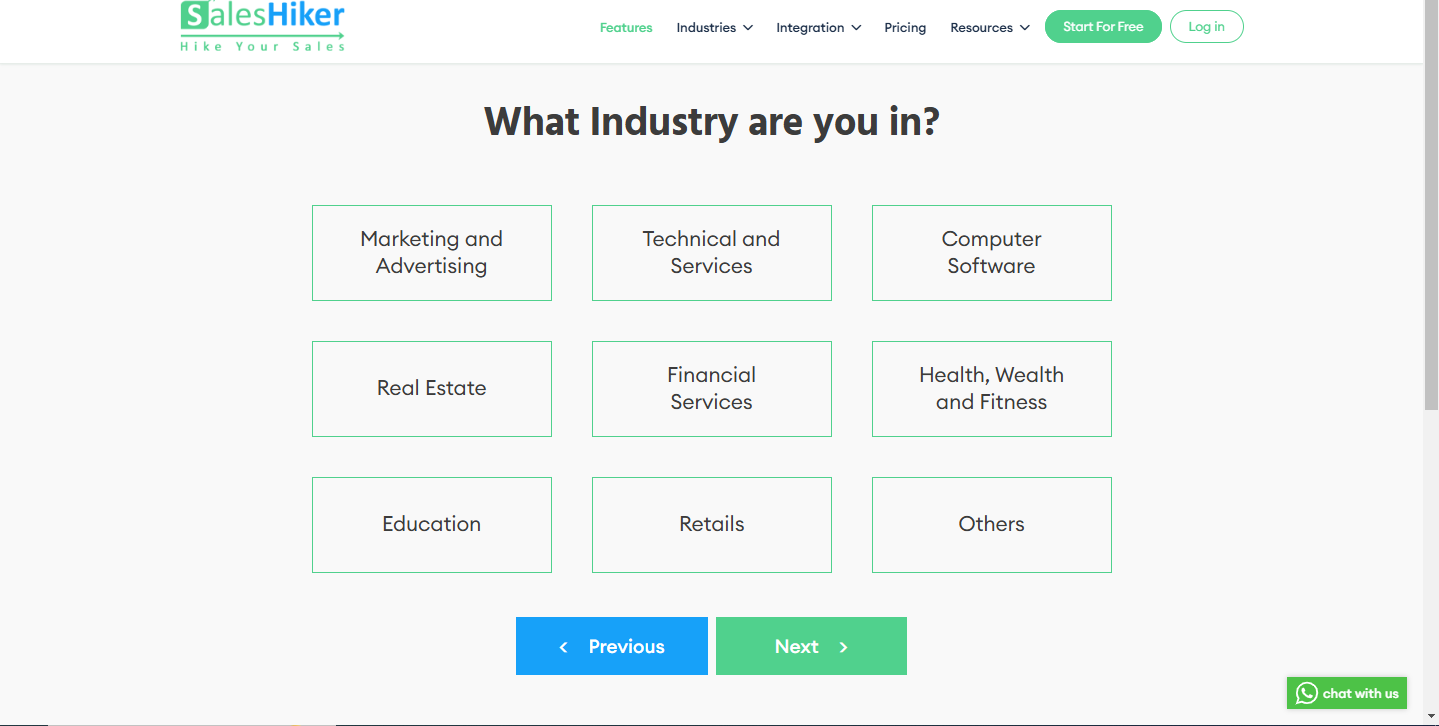
- 3. Industry: Select the industry that best describes your business from the given options.
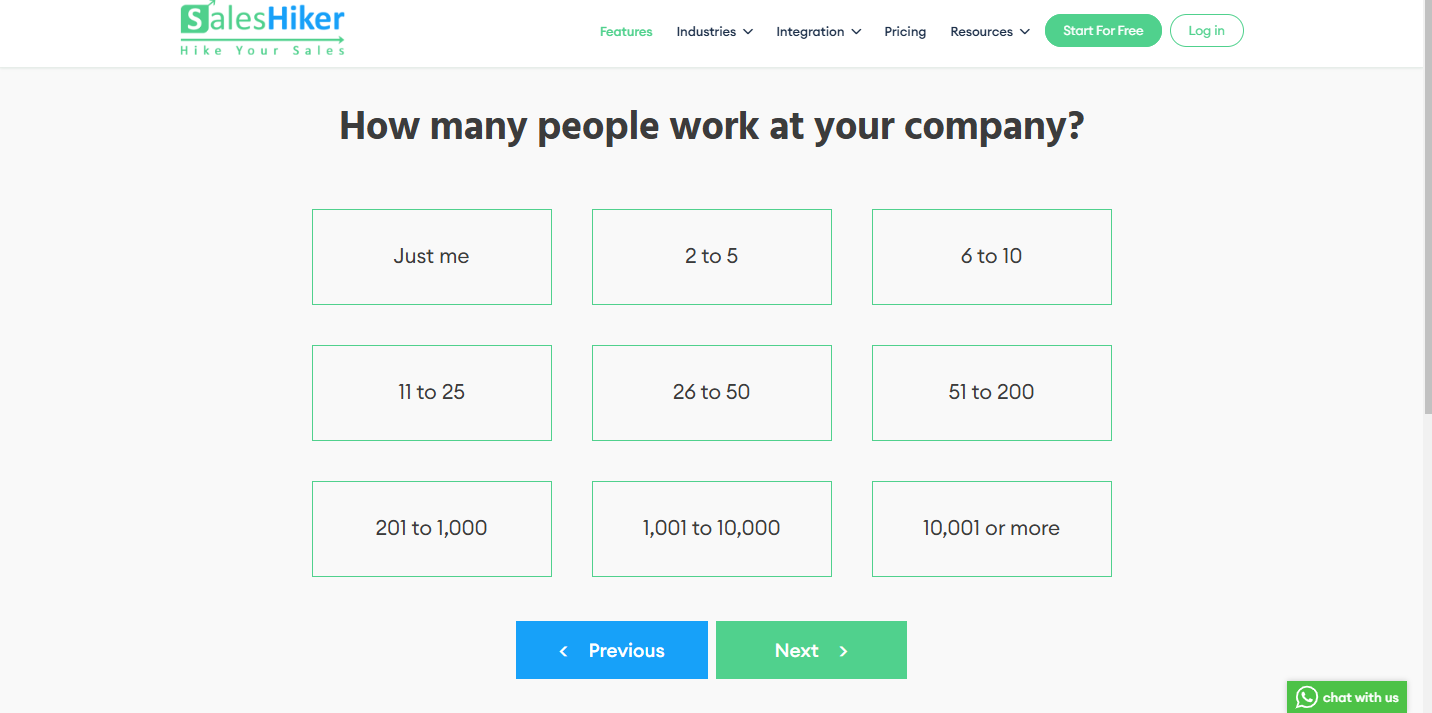
- 4. Company Size: Choose the number of employees in your company.
- 5. Specify WhatsApp CRM Preferences:
- Indicate your intended use of the WhatsApp CRM features by selecting at least one of the following options:
- Manage WhatsApp Groups
- Manage multiple WhatsApp numbers
- Have multiple agents reply via one connected number
- Send bulk messages (to groups & 1-on-1)
- Connect WhatsApp to internal systems
- Track team productivity metrics
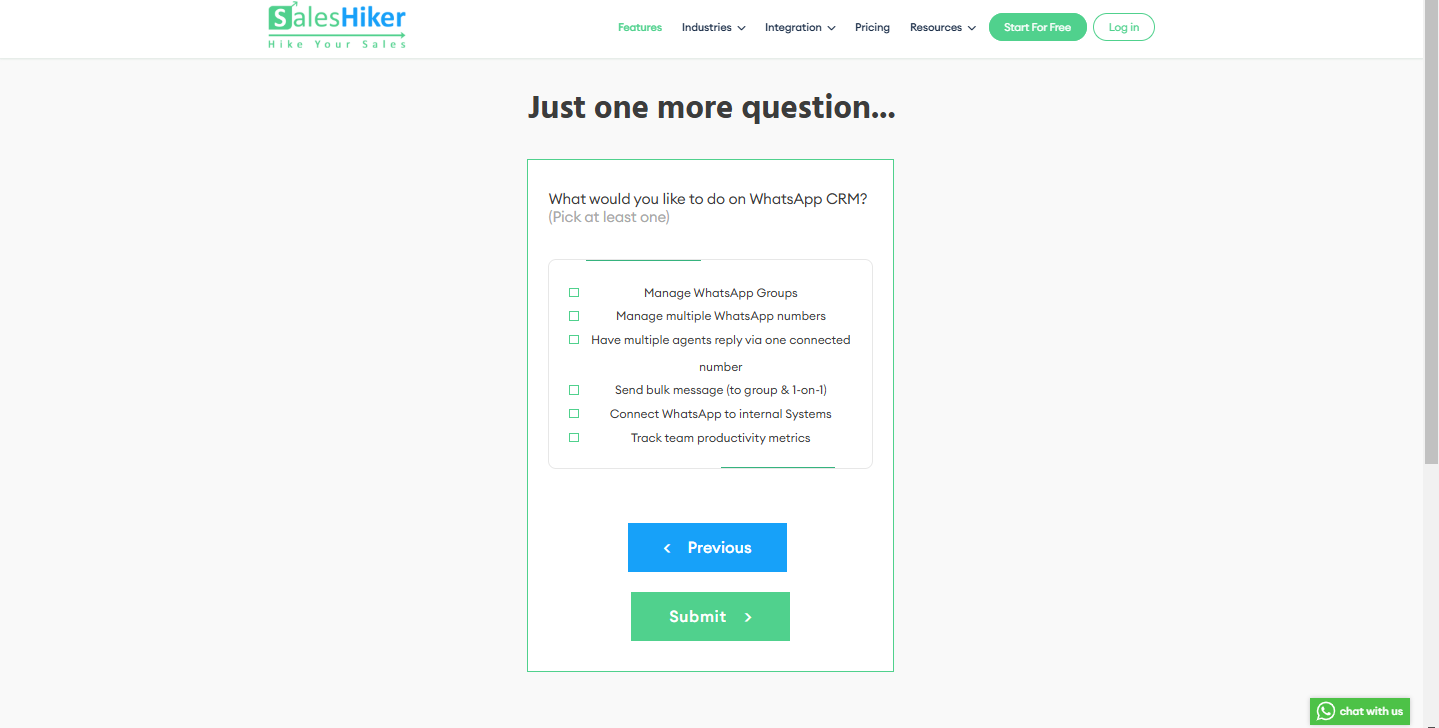
- 6. Click "Submit" to proceed.
- Connect WhatsApp to internal systems
- Track team productivity metrics
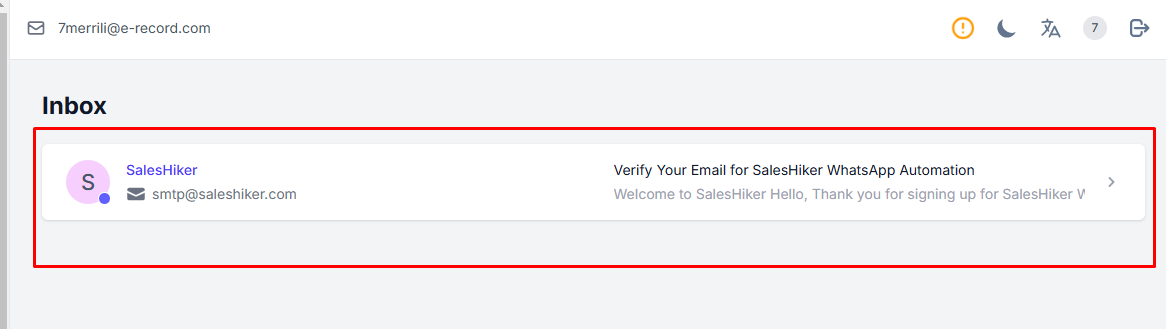
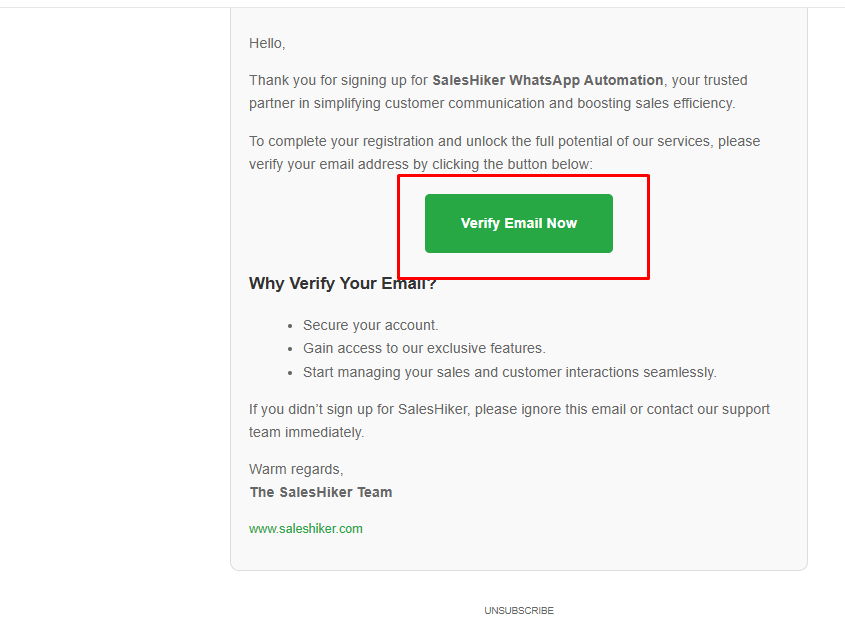
- 7. Verify Your Email:
- Check your inbox for a verification email.
- Click the verification link to activate your account.
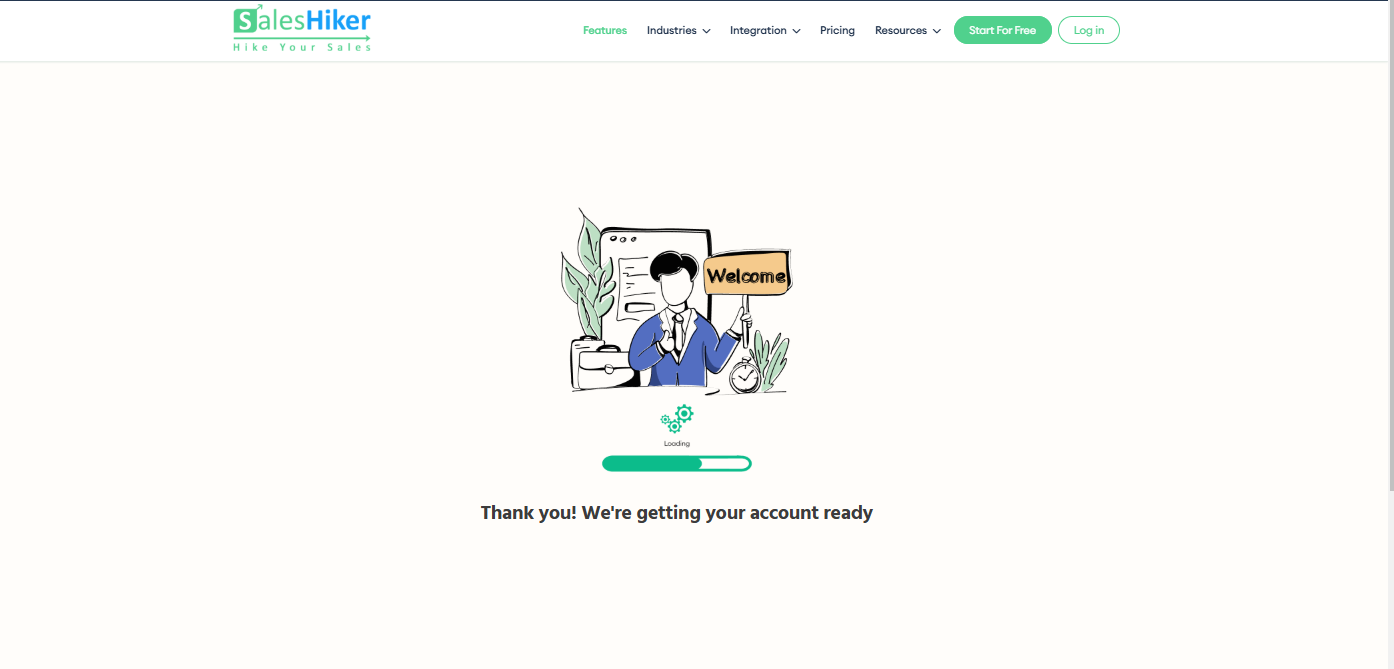
- After verifying the mail, the tenant creation process will be started. The below page will be visible during the tenant creation process.
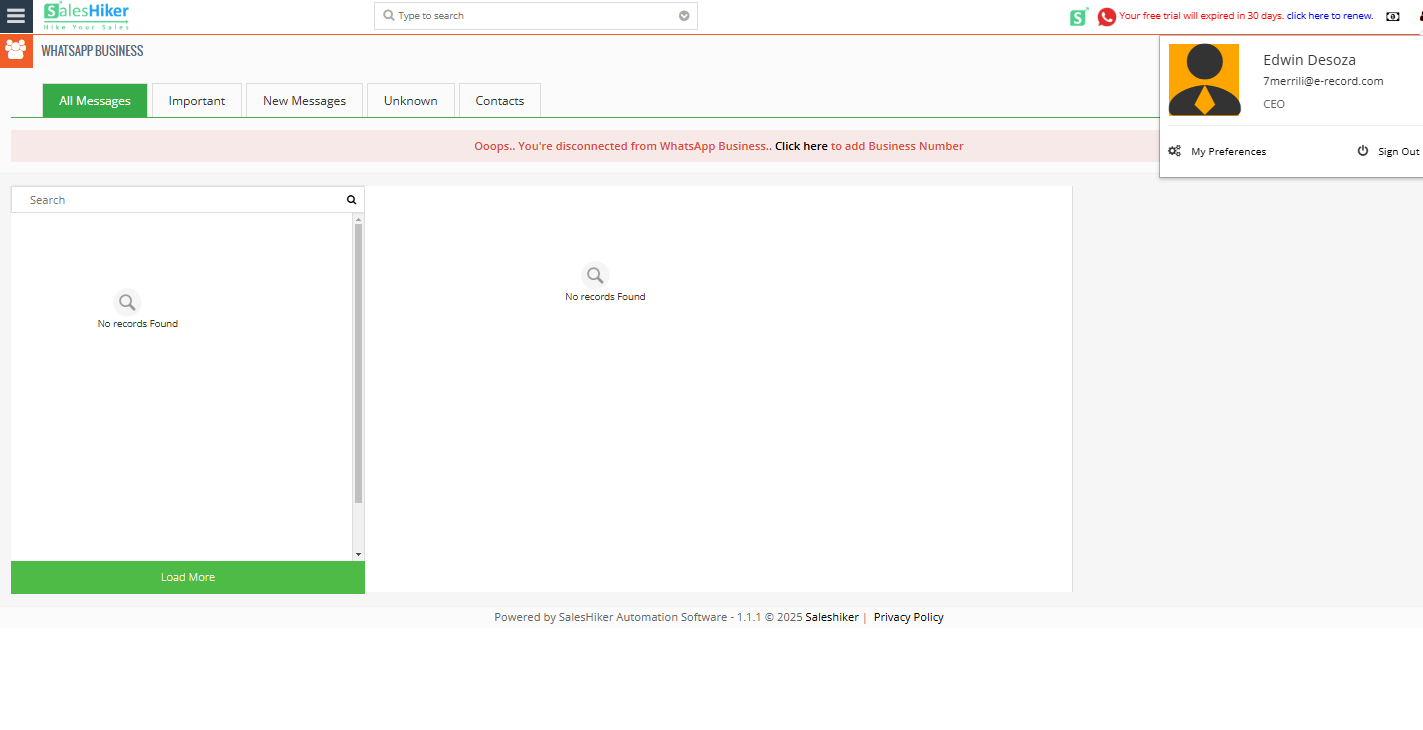
- 8. Once the CRM setup is completed successfully, the user will be redirected to SalesHiker CRM.
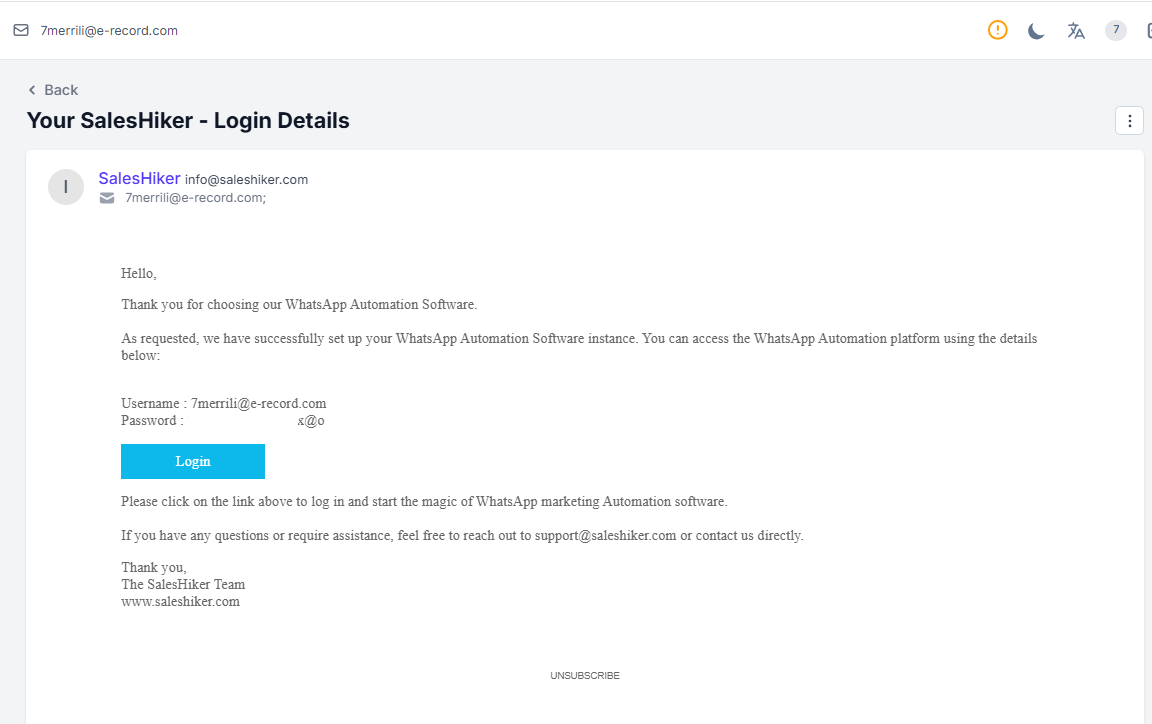
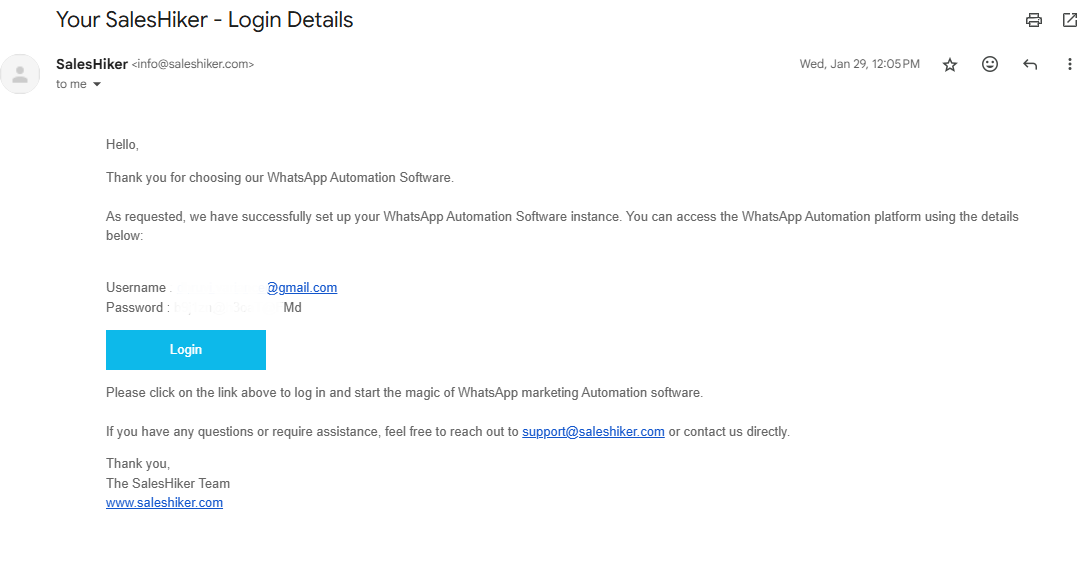
- After this, tenant setup credentials will be sent in the mail.
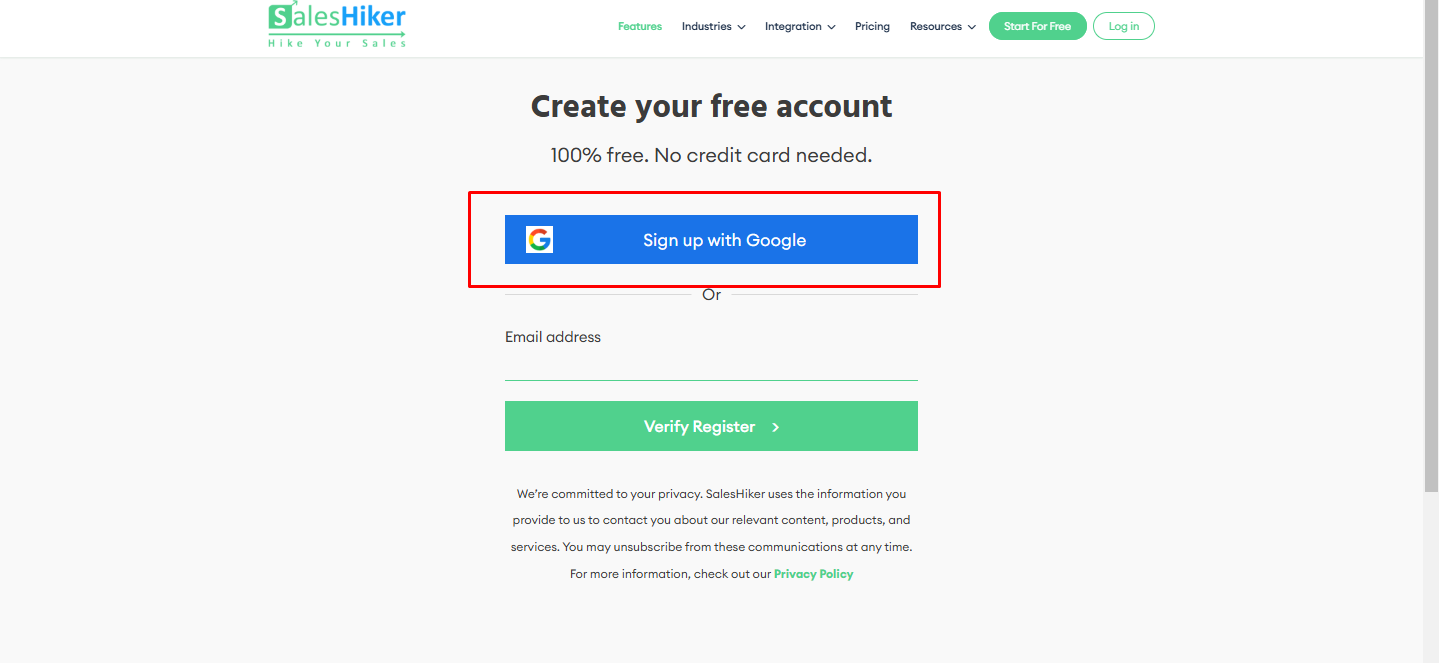
3. Setup with Google Account
- 1. Click on "Sign up with Google".
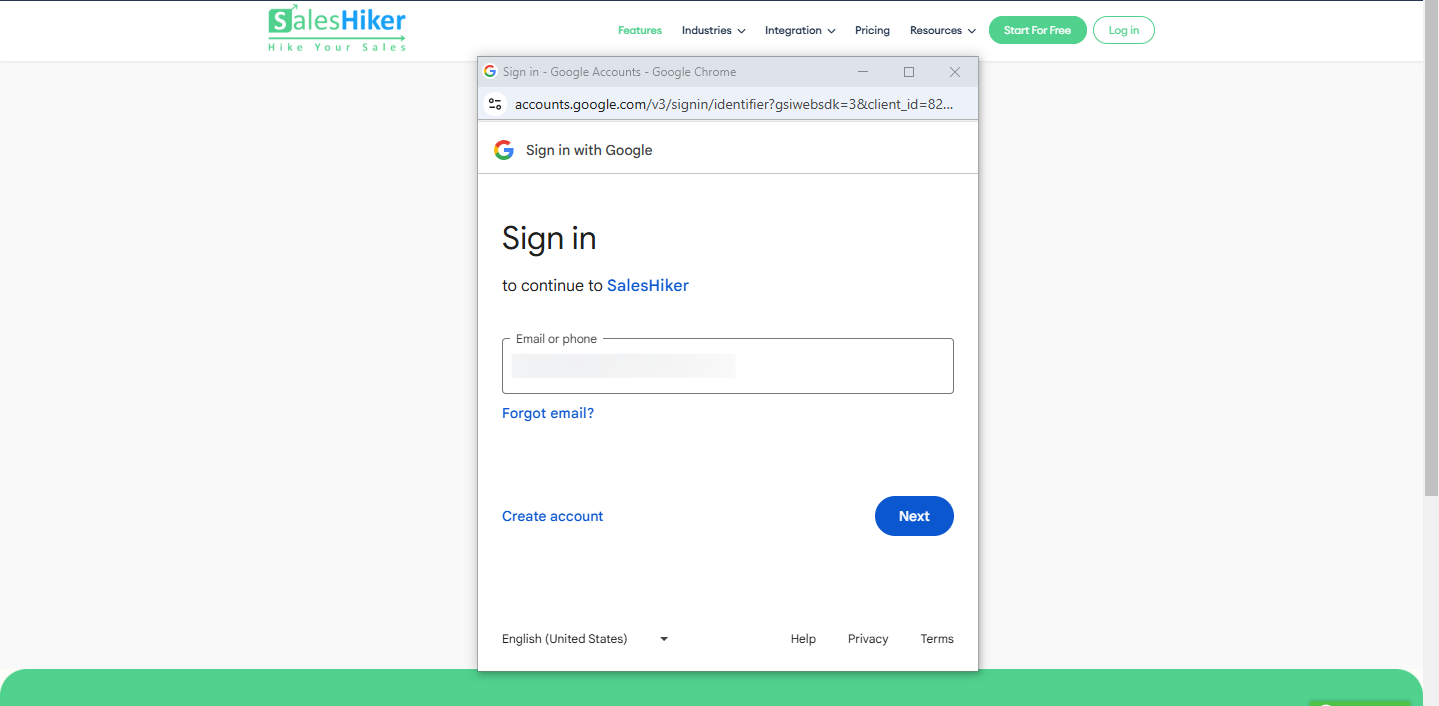
- 2. Select your Google account.
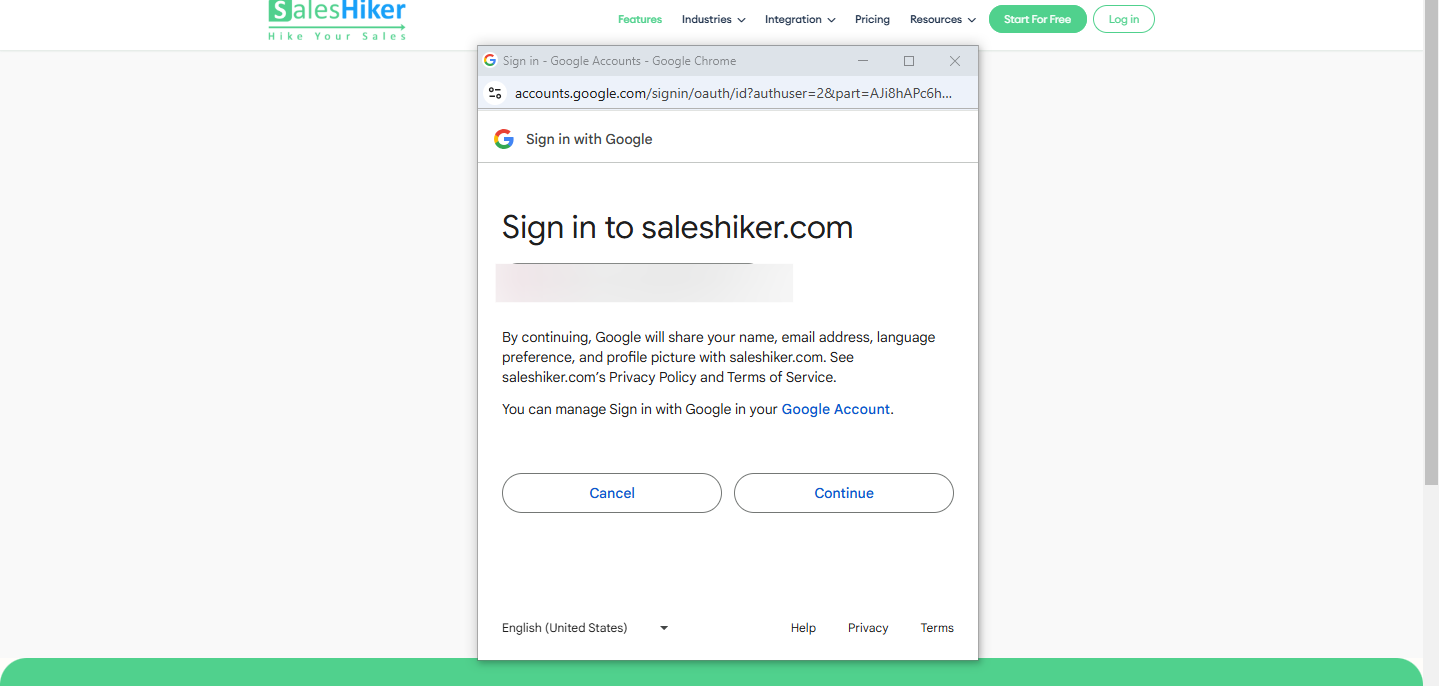
- After selecting a Google account, a popup will appear to enter a password. After entering the password, the below screen will be visible.
- After clicking on continue, the tenant creation process will be started. The below page will be visible during the tenant creation process.
- After a successful tenant creation process, it will automatically redirect to the saleshiker CRM.
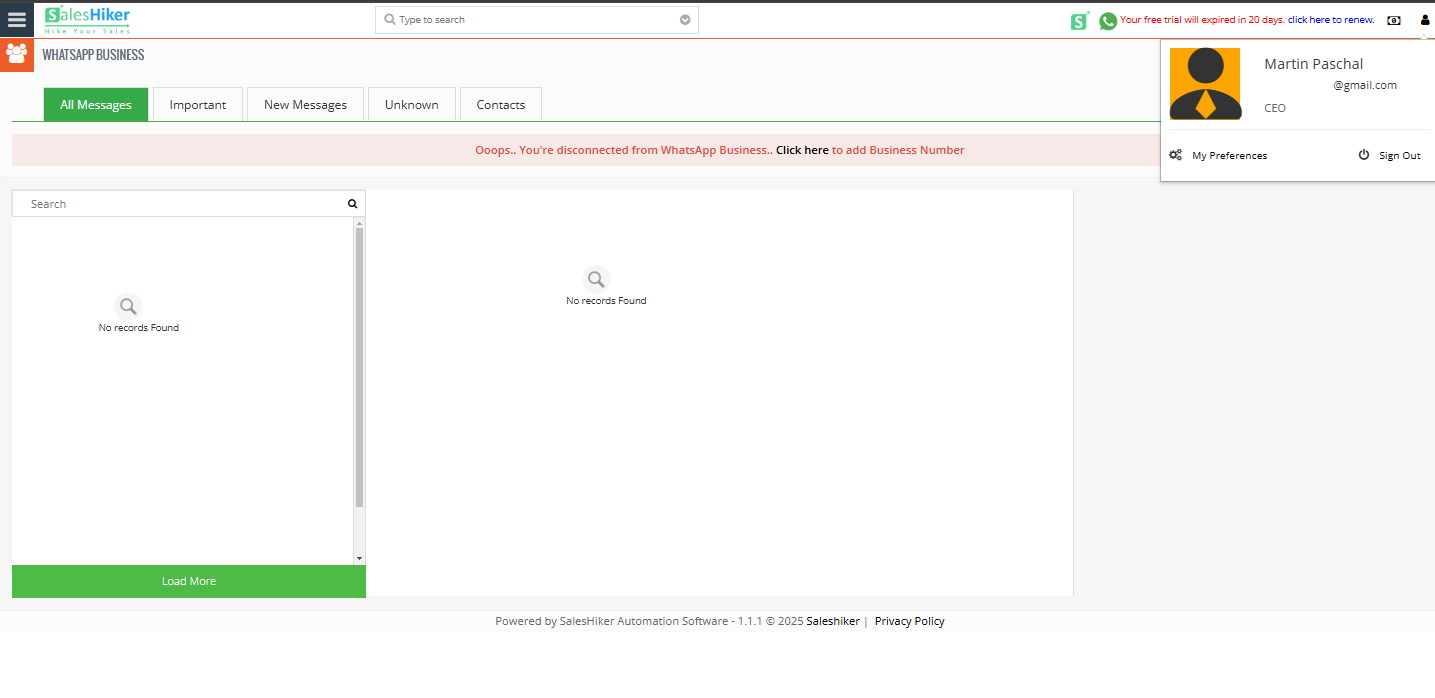
- Also, credentials will be sent in the mail.
4. Troubleshooting Registration Issues
- Didn’t receive a verification email?
- Check your spam/junk folders or request a new verification email.
- Error during Google sign-up?
- Ensure you’re using a valid Google account with the correct permissions.
- Forgot your password?
- Use the "Forgot Password" option to reset it.
5. Next Steps
- After signing up, explore key features, set up integrations, and personalize your dashboard.
- Once your Tenant CRM is set up:
- Customize your dashboard and workflows.
- Import customer data from spreadsheets or other CRMs.
- Start adding and managing customers, deals, and tasks.
 by
by